Step-By-Step: What to Expect During a Baldwin Family Flooring Installation

September 5, 2025

Choosing new floors is exciting, but the installation process can feel overwhelming if you’re not sure what to expect. At Baldwin Family Flooring, we believe in making the experience simple, transparent, and stress-free. Whether you’re upgrading to hardwood, luxury vinyl plank (LVP), carpet, or tile, our team follows a proven process designed to ensure beautiful results every time.


Here’s a step-by-step look at what happens when you choose Baldwin Family Flooring for your next installation.

Man installing hardwood flooring, using a hammer and nail gun.

Step 1: In-Home Consultation

We start with a free in-home consultation to understand your needs and vision. During this visit, one of our flooring specialists will:

  • Measure your space with precision
  • Inspect the subfloor for any issues
  • Show you samples that match your style and budget
  • Answer questions about durability, maintenance, and design


This ensures you know exactly what you’re getting before any work begins.


Step 2: Detailed Estimate and Scheduling

Once measurements and product selections are complete, we provide a clear, itemized estimate. No surprises, no hidden fees—just a straightforward breakdown of materials, labor, and any additional services you may need.


We’ll then work with your schedule to set an installation date that’s convenient for you.


Step 3: Preparation

Proper preparation is key to a smooth installation. Depending on your flooring choice, preparation may include:

  • Removing existing flooring (carpet, tile, or wood)
  • Addressing subfloor imperfections such as cracks, dips, or moisture issues
  • Moving or protecting furniture
  • Delivering and acclimating hardwood or LVP to your home environment


By the time installation begins, everything is ready for a seamless transition.


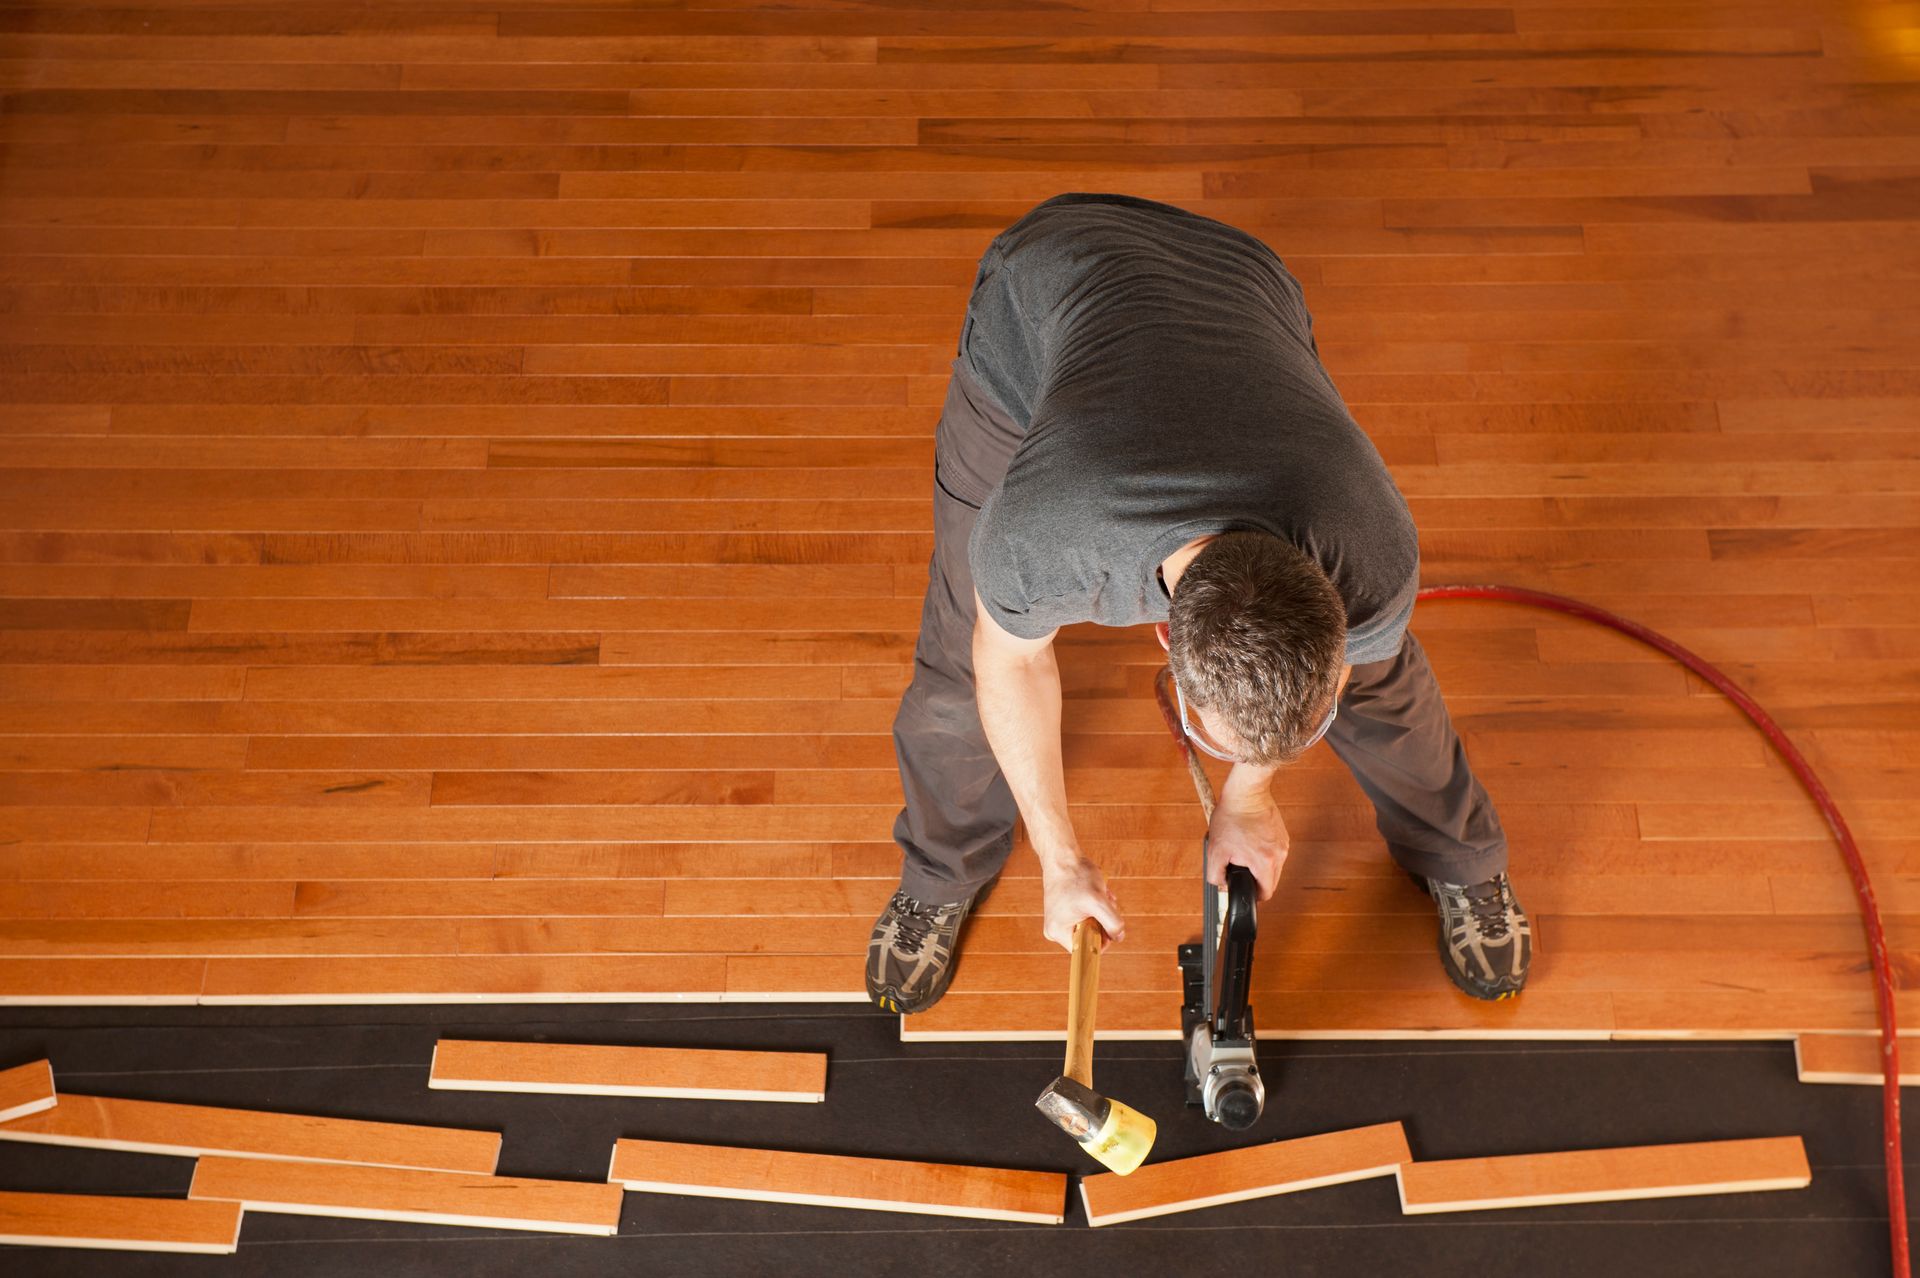
Step 4: Professional Installation

Our skilled installers arrive on time, equipped with the tools and expertise to get the job done right. The exact process depends on the type of flooring:

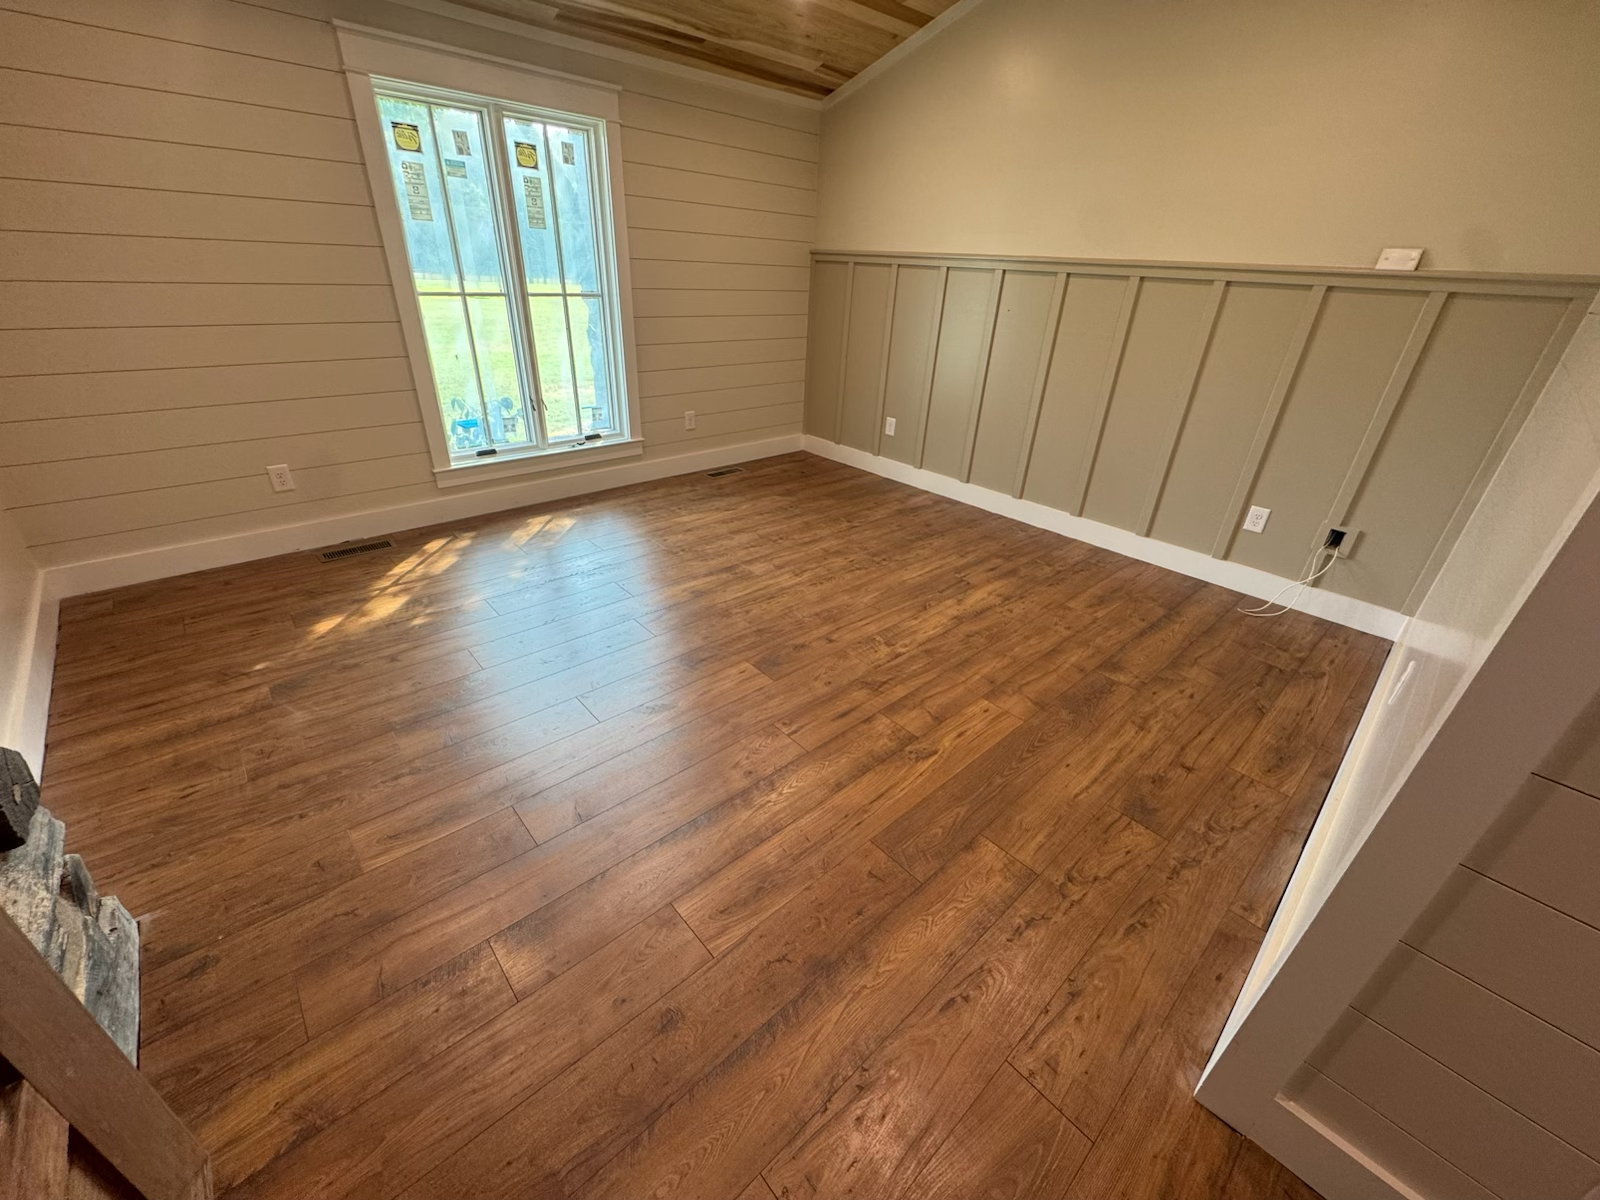
  • Hardwood or LVP: Planks are carefully laid, cut, and secured for a flawless fit.
  • Tile: Each piece is measured, set, and grouted with precision.
  • Carpet: Padding is installed first, followed by a stretch-fit carpet installation for comfort and durability.


We take pride in craftsmanship, paying attention to every detail—edges, transitions, and finishing touches.


Step 5: Clean Up and Walkthrough

When installation is complete, our crew cleans the space thoroughly—removing debris, vacuuming dust, and making sure your home is spotless. Then, we do a final walkthrough with you to ensure everything meets your expectations.


This is also when we share maintenance tips to help you care for your new floors and keep them looking beautiful for years to come.


Why Homeowners in Franklin Trust Baldwin Family Flooring

With years of experience serving Franklin and Middle Tennessee, Baldwin Family Flooring has built a reputation for honesty, quality, and family-centered service. We treat every installation as if it were for our own home—because to us, you’re more than a customer, you’re family.


Ready for New Floors?

If you’re considering a flooring upgrade, let Baldwin Family Flooring guide you through the process from start to finish. From free consultations to expert installation, we make it easy to bring your dream floors to life.


Contact us today to schedule your consultation and take the first step toward a beautiful new home.

August 1, 2025
Best flooring for busy homes with kids & pets. Explore durable, waterproof, scratch-resistant options from Baldwin Family Flooring in Middle Tennessee.
A dining room with a table and chairs and a painting on the wall.
July 4, 2025
Living in Tennessee means enjoying beautiful seasons, friendly neighbors, and yes—plenty of humidity. If you’ve ever walked across a floor that feels a little warped or sticky in the summer, you know what we’re talking about. At Baldwin Family Flooring , we help families all over Middle Tennessee choose flooring that not only looks great but also holds up to our humid Southern climate. If you're getting ready to update your floors, here are the best options we recommend for Tennessee homes—no matter how muggy it gets outside. 1. Luxury Vinyl Plank (LVP): Our #1 Go-To If you want a floor that can take a beating from humidity, spills, and daily wear and tear—LVP is your new best friend. Why we love it: It’s 100% waterproof (yes, really!) Looks like hardwood but won’t warp Easy to clean and super durable Perfect for: Kitchens, bathrooms, basements, and homes with pets or kids. Real Talk: We’ve installed LVP in hundreds of homes around Nashville and beyond. It always holds up, even in the stickiest of summers. 2. Tile: Classic & Tough as Nails Tile is another winner in our book—especially in areas where water and humidity hang around. Why it works: Doesn’t absorb moisture Won’t swell or buckle Tons of styles and colors to choose from Great for: Bathrooms, entryways, mudrooms, and laundry rooms. Pro tip: Want a wood look but love the durability of tile? Wood-look porcelain tile gives you both! 3. Engineered Hardwood: Real Wood That Plays Nice with Humidity We get it—sometimes you just want real wood. That’s where engineered hardwood comes in. It gives you that beautiful natural look without the risk of major expansion or warping. Why it’s better than solid wood here: Built in layers to resist moisture changes Holds up better in humid environments Best for: Living rooms, dining rooms, and bedrooms. Heads up: It’s not waterproof, so if you have toddlers or big spills often, you might want to look at LVP or tile instead. 4. Sheet Vinyl: Easy, Affordable, and Water-Resistant If you’re working with a tight budget but still want something that stands up to moisture, sheet vinyl is worth considering. Why it’s a solid choice: Water-resistant Soft underfoot Quick to install Works well in: Laundry rooms, kids' play areas, and budget-friendly updates. 5. Carpet (Yes, Really—with the Right Backing) You might think carpet and humidity don’t mix—but with the right materials and padding, carpet can still be a great choice for low-moisture areas. When it makes sense: Stick to bedrooms or upstairs areas Use moisture-resistant padding underneath Choose synthetic fibers like nylon or polyester Keep it fresh: Run a dehumidifier in the summer and vacuum regularly to keep things clean and dry. Final Tips from Our Family to Yours Here are a few extra ways to make sure your floors last through Tennessee’s humid months: Use a dehumidifier in the summer—especially in older homes or basements Wipe up spills quickly (no matter what flooring you have) Ask us about moisture barriers during installation Make sure rooms are well-ventilated , especially bathrooms and kitchens Ready to Get Started? We know choosing the right flooring can feel overwhelming—especially when you throw weather into the mix. But don’t worry—that’s why we’re here. At Baldwin Family Flooring , we’re a local, family-owned business that treats your home like it’s our own. Stop by our showroom or schedule a free in-home consultation. We’ll walk you through your options, answer all your questions, and help you find a floor that fits your style and your lifestyle. Let’s make your home feel amazing—no matter what the weather’s like outside. Contact Us Now!
A man is measuring a piece of wood with a tape measure
June 6, 2025
Getting new floors is an exciting step — it can completely change the look and feel of your home! But if you’ve never been through a flooring installation before, you might be wondering: What actually happens during the process? At Baldwin Family Flooring, we want you to feel comfortable and confident every step of the way. So we’ve put together this simple guide to show you exactly what to expect during your flooring installation — from start to finish. Step 1: Preparing Your Home Before installation day arrives, a little preparation can go a long way. We’ll talk you through everything you need to do, but here’s a quick checklist: Move furniture: We recommend clearing the room ahead of time. (Don’t worry — if you need help, we can arrange assistance!) Remove fragile items: Take down wall art, curtains, and anything breakable to protect them from dust or accidental bumps. Plan for pets and kids: Installation tools and materials can be dangerous for little ones. It’s best to keep pets and kids away from the work area Getting your space ready helps us work faster and keeps your belongings safe. Step 2: Delivery of Flooring Materials Depending on the type of flooring you're installing — hardwood, carpet, vinyl, tile — materials might arrive a few days early. Fun fact: Some materials, like hardwood, need time to "acclimate" to your home's temperature and humidity. This helps prevent issues like warping later on. We’ll give you a heads-up if any special preparation is needed! Step 3: Removal of Old Flooring Next up: out with the old! If we’re tearing out existing flooring (like old carpet or tile), we'll handle the removal carefully and cleanly. Sometimes removing old flooring reveals surprises like minor subfloor damage — if that happens, we’ll walk you through any extra steps needed to fix it before the new floor goes down. No guessing games — we keep you informed at every turn. Step 4: Prepping the Subfloor The subfloor is like the foundation for your new flooring. Before we start installation, we make sure it's: Smooth Level Clean Dry This step is crucial because it makes sure your new floors look great and last for years to come. Step 5: Installing Your New Floors Now for the exciting part — installation day! The exact process depends on the material you’ve chosen: Hardwood and vinyl planks are usually clicked or glued into place. Carpet gets stretched, trimmed, and secured. Tile is carefully laid out and set with grout. Our experienced team works efficiently but carefully to get it done right. We take pride in neat seams, tight fits, and flawless finishes — because we know the little details make a big difference. Step 6: Final Touches and Clean-Up Once your new flooring is installed, we handle all the finishing touches: Baseboards and trim go back into place Seams and edges are sealed if needed Floors are cleaned and ready to show off We believe a job isn't finished until everything is spotless — no dust, no leftover scraps, no mess for you to deal with. Step 7: Walkthrough and Care Tips Before we leave, we’ll walk through the finished space with you to make sure you’re absolutely thrilled. We’ll also give you easy tips for keeping your new floors looking beautiful — whether it’s how to clean hardwood the right way or how often to vacuum your new carpet. Our goal isn’t just to install flooring — it’s to make sure you feel 100% happy with the entire experience. Ready for Your Flooring Makeover? At Baldwin Family Flooring, we make the flooring installation process simple, smooth, and stress-free. From the first consultation to the final walkthrough, we're right there with you — treating your home like it’s our own. Contact us today to schedule your free flooring consultation. Let’s create a space you’ll love to walk into every single day!
Show More